Wednesday 30 April 2014

Carriage Painting Continues

While Himself has been busy extending Bron Hebog onto the new board I have been plugging away with painting the three Super Barns I have been commissioned to build.

This is the first of the trio ready to be varnished.


There's not much to be said except that in radical development (for me) I sprayed the cream colour before brushing on the maroon, black, grey etc in the traditional fashion.

It was something I did to save time and although results are adequate I suspect it would work out a lot better doing it with an airbrush where you can direct a fine spray just where you want it as opposed to the rather crude delivery from a hobbyists aerosol.

The second carriage is all but done, as I type, and I'll be starting work on the third and final one soon.

Monday 28 April 2014

Rip It Up And Start Again

We've reached big milestone in the Bron Hebog project - starting work on the final scenic board.

This is the one which completes the last stretch of the S Bend running along the back of the layout from Cutting Mawr to Bron Hebog Crossing behind Cwm Cloch farm.

Before anything could be done to it, however, the baseboard had to be dismantled and rebuilt because it had become slightly skewiff on account of being stored for a while in a damp location.

Fortunately with this design of baseboard it is relatively straightforward to unscrew it and reassemble the component parts which is what you see happening below.


Once put back together the board was taken into the workshop to check that it did indeed still fit within the gap left for it.


Fortunately it did!

In the next two snaps you can see how Himself has cut the footprint of the trackbed from a sheet of plywood and laid it roughly in position.


You can see this section is another dog-leg straight which swings towards the middle section of the S bend below it before curving away again and off into the forest beyond.


There's still so much to be done but you can really believe now that this project that we've been working on for the last decade and more will, one day, be finished.


Saturday 26 April 2014

More Stone Walls

There is work going on at more than one location on Bron Hebog at the moment.

As well as the progress landscaping the latest house in the Oberon Wood estate, which I posted about a couple of days ago, Himself has also been adding some of the stone walls at the back of the layout around Cutting Mawr.


The product we use for stone walls is these plaster units produced by Ten Commandments which we've found to be very adaptable even on a very uneven landscape such as the one we're modelling.

Himself spent some of his spare time on his recent volunteering trip to Wales doing some final research in this area to try to ensure we have these walls in roughly the correct position relative to the embankment and the cutting.


He's now waiting for the plaster to harden fully around the big rocks in the cutting before finishing painting the basic scenery, and then adding the small scenic rocks and rubbish, then finally ballasting the track.

Thursday 24 April 2014

Boys From The Black Stuff

Himself has become fed-up waiting for his Evergreen square tile sheet to turn up (it's apparently on back order) so he has decided to scribe his own paving.

The steps have been made and fitted up the side of the house and at the front.


Plaster infill has just been put in and is waiting to set and the road has had it's first coating of tarmac - hence the title of the post which has probably bamboozled any readers from outside the UK and those born after 1980.


You can see in this shot how the house is designed to fit into a 'hole in the ground' and also a bit more detail of the scribed styrene paving.


Tuesday 22 April 2014

Breaking Rocks

Himself has been busy taking out his frustrations on the lump of Mother Wales he brought back from his travels a few weeks ago.

Now pulverised into suitably sized chunks he has begun fixing bits into place to represent the rock of Cutting Mawr.


As you can see, the advantage of using genuine rock is that if you choose your lump carefully it comes ready-weathered and these pieces appear to have fractured quite nicely to look like the handiwork of McApline's 1920's navvies.


Once the fragments have various bits of foliage stuffed into the cracks it should look a lot less like a stoney jigsaw puzzle.


Sunday 20 April 2014

Squirty Cream

I've progressed onto painting the batch of Super Barns I've been working on for the last few weeks.

I make no secret that I'm trying to cut corners wherever I can on this project. So as well as resin casting many of the carriage components I'm going to try spray painting some of the colours to see if I can speed up what is normally a very long and drawn out process.

The colour I've chosen to spray is the cream section of the two tone WHR livery.

Because I don't own an airbrush it's not an option to spray the red because it's a shade I mix myself blending equal amounts of scarlet and crimson. I can also buy an aerosol can of cream enamel spray off the shelf, so that's what I'm doing first.

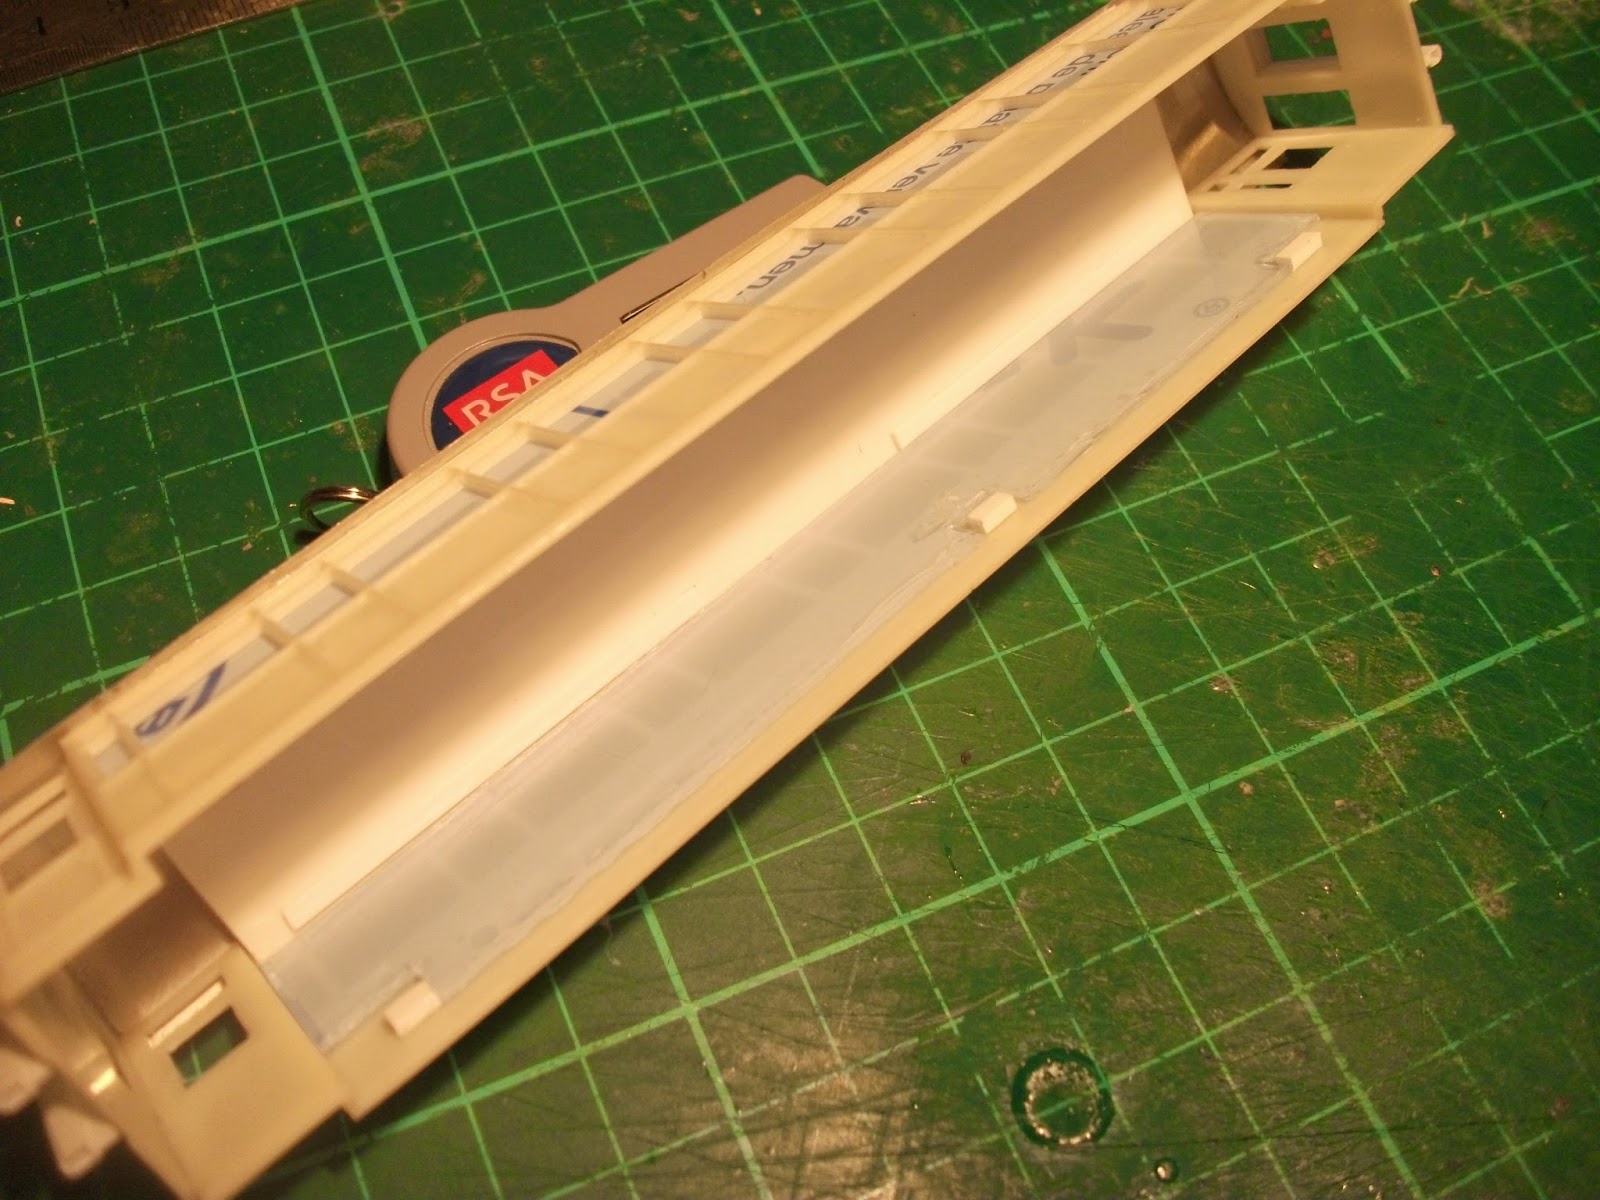
I'm also taking the precaution of masking off as much of the lower (red) bodysdie as I can because, as I explained in a post a few days ago, I hope another one of my shortcuts will prove to be using red oxide as the shade of primer in the expectation it will reduce the number of coats of red I need to brush on.

With my usual grey primer a carriage can need as many as three.

So here's the carriage after a couple of coats of the cream spray which cured within a few minutes allowing both sides to completed within a single evening session.


Here, with the masking tape removed, the effect is already quite convincing and it looks as if my cunning plan might just work!


Friday 18 April 2014

Patio Season

Some small jobs have been done on Bron Hebog ahead of the Easter holiday, one of which has been setting the base for the 3rd house and fixing its position.


The picture shows how I'm building these models with deep 'foundations' so they can be sunk into position. The plywood you can see in front of the big patio doors is the true ground height.


Himself has ordered in some square tile styrene sheet which he will use to represent the patio slabs and the steps which descend on the northern (Rhyd Ddu) end of the house beside the path leading down from the footbridge across the cutting.


Wednesday 16 April 2014

Geology Field Trip

I mentioned previously that we will using genuine Welsh rock to line the walls of Cutting Mawr at the back of Bron Hebog, and here it is.


Himself indulged in a spot of geological pilfering on a recent trip to work on the FR and returned with this lump which he discovered at a secret location.

It is - obviously - a little on the large size for a OO9 layout, even one as generously-proportioned as Bron Hebog, so the next step will be to pulverize it with a suitably sized implement to get some large slivers which can be bonded into position inside the cutting.


Monday 14 April 2014

Undercoat

I've begun the process of painting the three Super Barns I'm building for a client.

Here's one of them in a coat of red primer.


This is the colour I spray the South African wagons with but I've never used it on carriages before having always gone for a grey.

Given that I have three carriages to finish I'm hoping to reduce the labour time by spraying one of the colours on - the cream - which should be easier and faster than doing so by hand because it's awful fiddly getting it around all those little window frames along the top and it usually takes at least two if not three coats.

My hope is that even with a dark red base the cream from the can will go on a little faster and the red, which I will apply by hand, should be helped by this undercoat colour.


Saturday 12 April 2014

On Location

Remember the house I was building for Bron Hebog a few weeks ago? Well it's back and getting a trial run in position on the layout.


For anyone not familiar with the Oberon Wood estate and unsure of where this house fits in this aerial view should help.


Beddgelert station platform is away to the bottom right of the shot and the cutting leads to Goat Tunnel towards the top left.

The other two houses I built last year have been entrusted to the Artistic Director who is believed to be painting them.

Such statements can never be made definitively until one sees irrefutable evidence, but when I do let me assure you you'll be the first to know.

Thursday 10 April 2014

One Last Job

I'd almost forgotten one very important job before I begin painting the Super Barns - fitting the glazing.

It's not essential to do it at this stage but it does involve quite a bit of handling so it probably makes more sense to get it out of the way now.


I generally cut this from a perspex sheet 20" thick which has a protective film on both sides which you don't remove until the final fitment. That explains the blue tint to what you can see above.

I thought you might also like to see exactly how we fit glazing in our carriages.

We try to avoid gluing them into position if we possibly can relying on the interior and strips hidden beneath the roof, to hold it in place.


The little white squares of styrene are the stop blocks which prevent the floor / chassis disappearing up inside the body and set the correct ride height for the carriage and so I have to cut out sections from the glazing to fit around them.

The glazing for the vestibules and ends will have to be secured in place with a spot of glue but as they're much smaller than the main runs they're easier to manipulate and, I hope, there's less chance of accidentally getting some solvent smeared on the wrong bit when fitting them.

Tuesday 8 April 2014

Before & After

Alas the job of ballasting doesn't end when you walk away and leave the watered-down glue to set the stones in to position,

If you want a neat job you have to return to the scene of the crime to remove all the stray ones sitting on top of the sleepers and more importantly any which are stuck to the web of the rail ready to derail the first passing train.

Close examination of these two snaps illustrate how much tidying up is involved.

And how it looked after Himself had been along dislodging stray stones.


So now the ballast bed stretches nearly all the way around the big bend.


The only section where the track is still bare is in the cutting and that won't be covered until we've got some rock stuck in place.

I'll have more on that for you in a couple of days time.

Sunday 6 April 2014

Bonding Session

I got a bit ahead of myself last week when posting pictures of the new section of track being ballasted.

I forgot to mention that before the stones are spread onto the track there's the small job of soldering the feed wires in place.


Just in case you were wondering, this layout is being built according to the quaint old-fashioned concept that the operators actually control the trains themselves rather that leaving it to digital micro chips buried deep in the locomotives which probably have more computing power than the rocket that sent Man to the Moon.

As you can see Himself is doing a very neat job, which is not surprising since he is now fully training in wiring track of all sizes as you can see in this picture of him in action on the real FR.


I did briefly consider posting this snap on 1st April and seeing if anyone would believe me if I described it as a World Exclusive revelation that the FR is not a steam railway at all but a giant electric train set.

He is, in fact, drilling and bonding new track circuit wires into position, one of the many tasks that distract him in North Wales when he's supposed to be at home building the bloomin' layout!

Friday 4 April 2014

Please Drink Responsibly

And what could be more responsible than recycling your beer can as part of a model?


Indeed, I have been even more responsible this time in that I have perfected my cutting technique so have have been able to get all 3 roofs out of around 2/3 of a can which I had left over from the first batch of Super Barns.

(Please note: this is no endorsement of a particular brand of pseudo-Belgian lager - the stuff we buy here is brewed in the UK - other beverages are available. You just have to ensure it's a pint sized can to get enough length for a Super Barn)

I have also refined the way I fit the roofs.

On the first batch I first glued the curved can section onto the flat styrene false ceiling before fixing this in place on the bodyshell.

Now having discovered how surprisingly rigid the thin can skin is I glued the flat false ceiling in place on the top of the carriage body first and then super-glued the metal on top.

I have also done without the strengthening piece of styrene along the spine of the roof.

I think they're about ready to paint now.


Wednesday 2 April 2014

Ballasting

After the very rapid process of laying yards of track comes the much slower task of teasing tens of thousands of tiny stones into position.


The main tools required, as you can see, are a teaspoon, egg cup, paint brush, PVA glue and the vital drop of washing up liquid.

Oh, and a lot of patience!


Himself has done very well to ballast the full run of the board in the middle of the S bend.