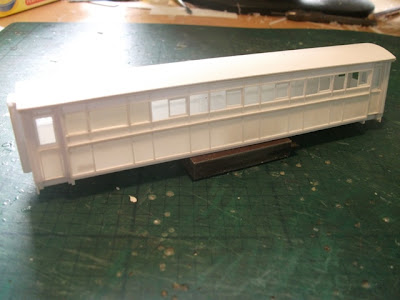
These pictures take you through today's session on Service Carr 2011.
The last 'parts' to be completed were the two end pieces which required the second layer of detailing strip to be put on and the corridor connections fixed into place. One of the more fiddly jobs is the electrical connector and cable. The vacuum hose will be one of the last pieces to go on before the carriage is painted because they can be easily knocked off.
Here, then, are the sides and ends laid out...

The inset door assembly has been fixed to back of the main carriage bodyside and bonded to one of the ends..

My floors and roofs sit within the bodyside to stop it bending inwards at the middle. The floor is the bottom of the two pieces here, with the cutaways for the vestibule clearly seen, and the false, flat bottom of the roof above...

Here is the 'box' put together with the false roof in place, it's finally looking like a carriage now...

And with the roof skin in place..


No comments:
Post a Comment